I'm a mama of three doing what I love and fueled by Grace, Mercy, and a whole lot of coffee. I'm so glad you are here!
Hey, friend!
I'm Courtney.
mini brand
brand building
website design
template customization
tell me more
Browse by
category
We Made Cake Pops!
I don’t know about you guys, but I am completely addicted to Starbucks Cake Pops. I tweeted out the other day that not only had I eaten one but two of those little devils while walking around the Safeway. In my defense, I didn’t deliberately buy two just for myself. I bought one for myself and one for little man. He didn’t want his. So, to avoid food going to waste, I decided I’d better eat it myself. I mean, why throw away a perfectly good cake pop, right?
But, despite my infatuation with this little treats on a stick, at $1.99 a piece, they add up if you insist on getting one every time you go to Starbucks like I do have a child who usually inhales them whenever we get him one. So I decided to try my hand at making them myself. I found a variety of recipes, including one by the infamous Bakerella and one that was posted on A Beautiful Mess, but neither of them quite suited our tastes, so I wanted to give it a go with a few different cake flavors.
Since Valentines Day was coming up, I decided to try my hand at Valentines Day Cake Pops.
How To Make Cake Pops
What You Need:
- A Cake Mix of your choice & the ingredients needed to bake said cake.
- 1 Can/Jar of Frosting in the flavor of your choice (We used regular Vanilla Frosting, but depending on the cake flavor, you could also try Cream Cheese or Chocolate)
- Lollipop Sticks (I found these at Walmart for $2.00 per pack of 50, but I know you can get them at Michaels, etc.)
- Parchment Paper
- Cookie Sheets
- Almond Bark or Candy Melts in the colors you want to use
- A block of Styrofoam (Again, found this at Walmart over by the artificial flowers)
- Sprinkles, nuts, and other goodies to decorate with.
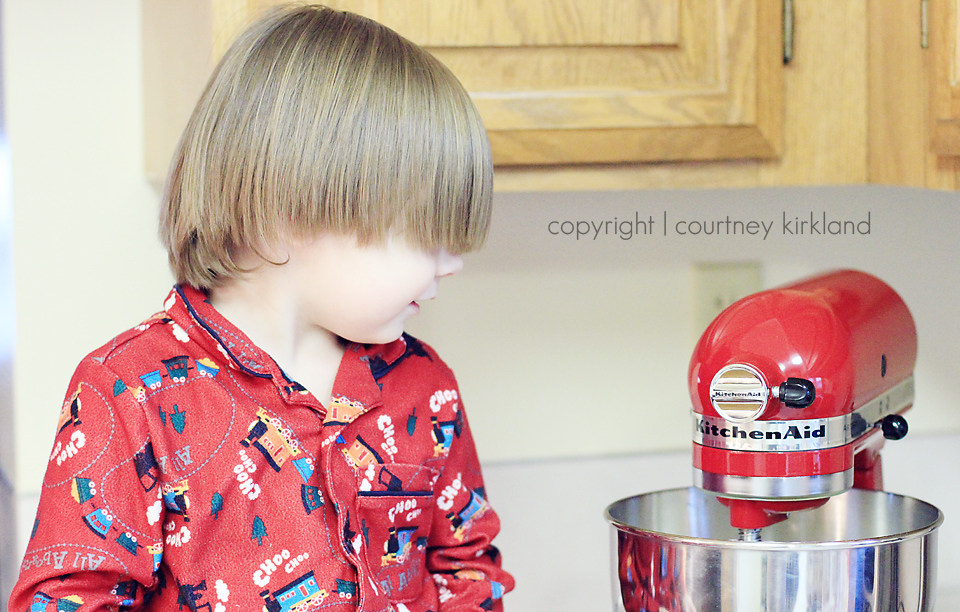
First, you are going to have to find an assistant. Because, what baker doesn’t need someone in the kitchen to help them pour ingredients and test the batter to make sure it’s good? Lucky for me, I had two…
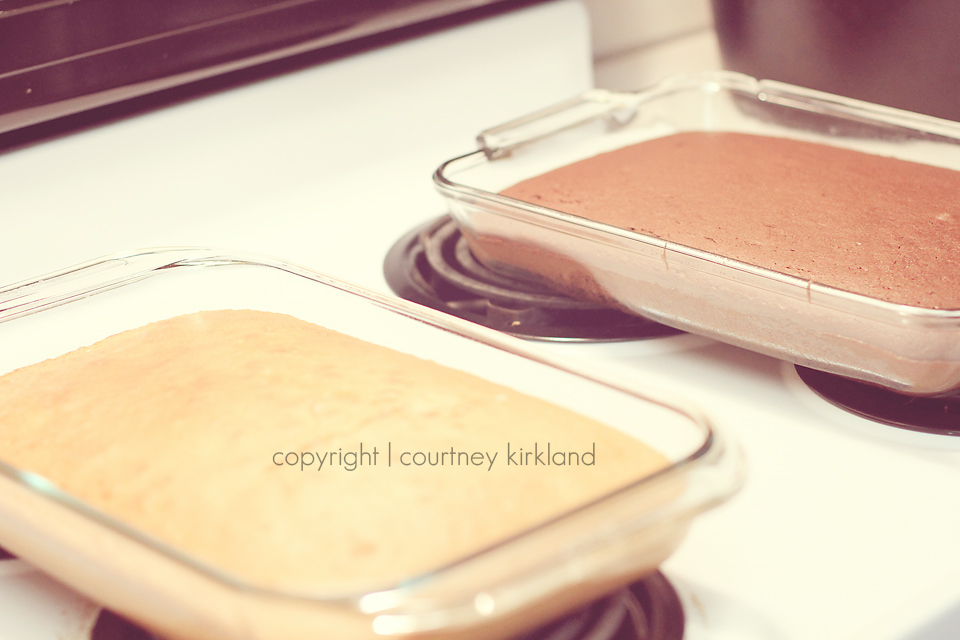
Next, you just bake a cake according to the recipe on the box. For these, I used a Pillsbury Classic White Cake Mix and a Duncan Hines Devils Food Cake Mix. For the white cake mix, I wanted to go with something a little more “Valentinesey” so I added eight drops of red food coloring to the batter to give it a pink tint.
Once the cakes are finished baking, you’ll need to make sure that they cool completely before starting on the cake pops. It took both of these cakes about 33 minutes to bake and about 45 minutes to cool all the way through.
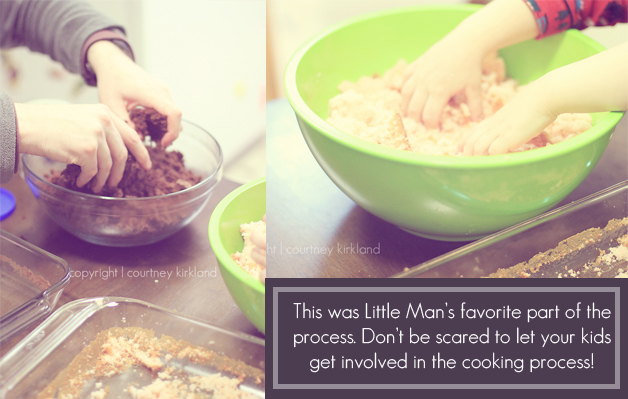
Next, you’re going to take the cake(s) and crumble them up in a bowl. Doesn’t matter how you do it (you can cut it out and then mash it up, or do like we did and just dig it out of the pan in handfuls).
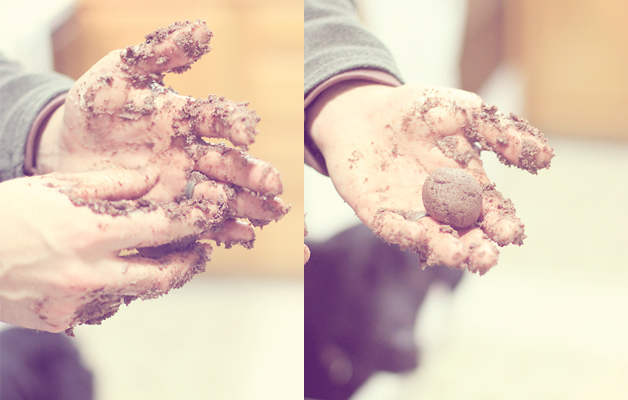
Add the container of icing to the crumbled cake and use your hands to mash it all together. I’m sure you could use a spoon/fork/stirring utensil of some sort, but since Little Man was helping us out, we decided to go all out and just mash it up with our fingers. He had the best time and thought he was SUCH a big boy helping with the baking.
Once the icing is all mixed together, roll out some parchment paper and roll the cake mixture into quarter size balls. You could technically make these cake balls as big as you wanted, but we found that the bigger that they are, the harder they are so cover with the candy topping later on. The ones that were a little bigger than a quarter size worked perfect for us. Each cake mix (using this size cake ball) will make about 50 pops.
Once you’ve got all of these rolled out, place them in the refrigerator to firm up for one or two hours. We sped up the process a bit and stuck them in our freezer; they were ready in about 30 minutes. While these are firming up, you can get your candy coating ready. I bought two packages of White Almond Bark because we can’t find the Candy Melts here on the island. Again, since we were going for Valentine Day themed snacks, I added several drops of red food coloring to one batch of candy coating to make it pink. I also add a little bit of Canola or Vegetable Oil to my Almond Bark (per my grandmother’s advice growing up) to keep it from sticking. Make sure you heat the almond bark on low to prevent it from burning or it won’t smooth out properly.
When the almond bark is ready and the cake balls are firm, dip just a portion of the lollipop stick into the almond bark and stick it in the cake ball. The almond bark helps hold the stick into place and gives it a little bit more of a foundation so that the cake part doesn’t fall off when you dip it. Turn these upside down and let them set. Fortunately, candy melts and almond bark set pretty quickly, so you won’t have to wait long to get started decorating.
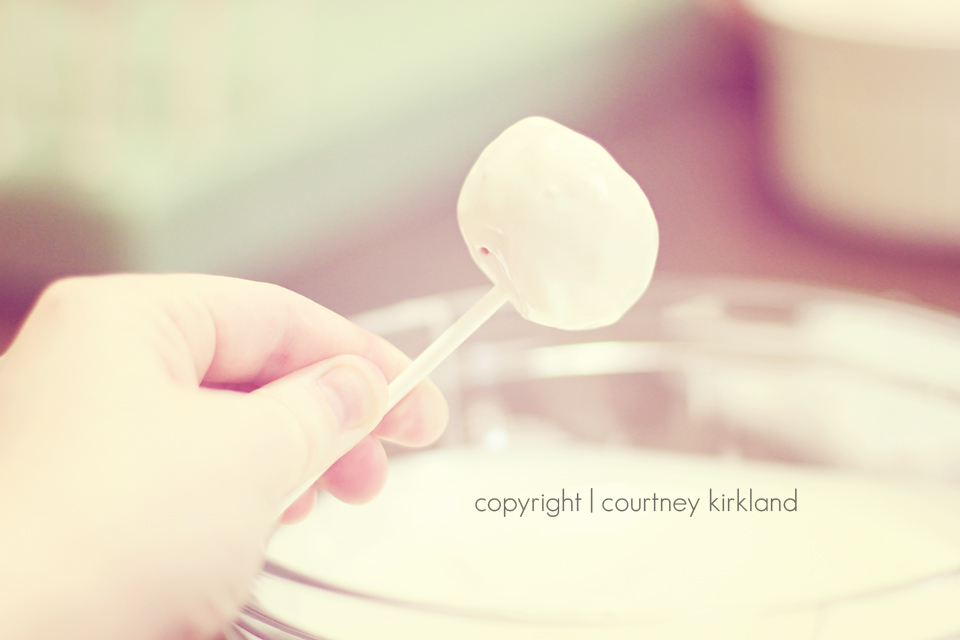
Once you finish putting the sticks in the cake pops, you’re ready to start dipping! Dip the pops in the candy mixture and then stick them in the styrofoam to let them dry. I found that holding the bowl at a bit of an angle and carefully twirling the cake pops made for an easier coating. Make sure you let all of the excess coating drip off before you put the pop in the styrofoam or it will run down the stick.
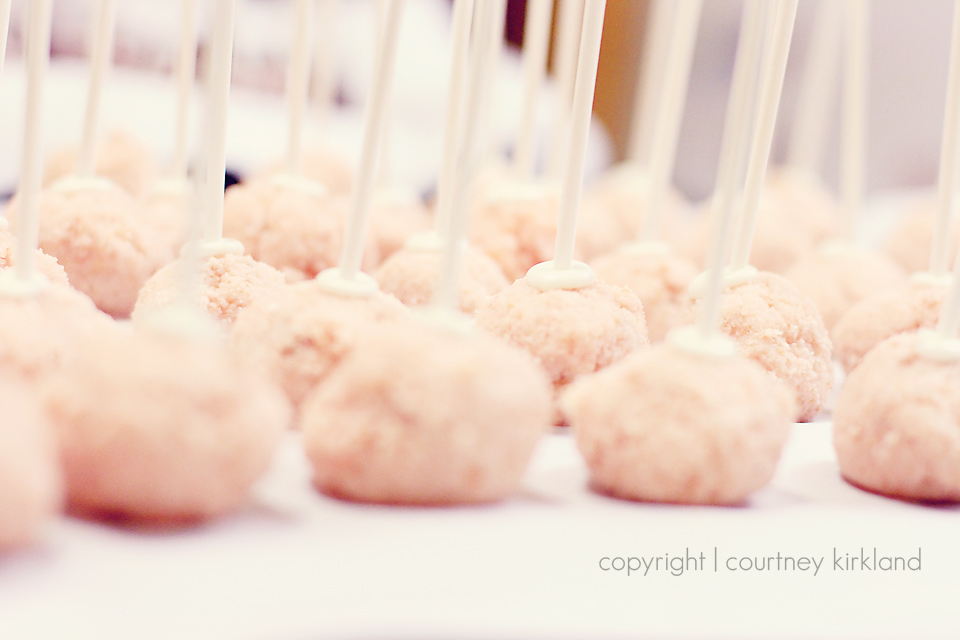
Once you’ve got these coated, you can go back and drizzle a little extra candy coating on top of them for decoration. We topped ours with pink and red sprinkles…
These took a bit longer than normal because we did so many, but they were super easy to make and definitely something we’ll do in our house again.
Have you ever made Cake Pops? What’s your favorite flavor of cake?
Disclosure: I did not invent Cake Pops (obviously), but tweaked the recipe I’m sharing a bit to make it my own.
Leave a Reply Cancel reply
Truly easy-to-customize websites for those who need a polished look with a quick turnaround.
Learn More ↦
Shop premade designs
Draw in potential customers with a seamless web experience and SEO optimized site pages.
Learn More ↦
website design
Discover your creative voice with a unique logo development & coordinating brand collateral.
Learn More ↦
brand building
A seamless single logo brand identity experience for those with a clear vision.
Learn More ↦






[…] and yellow the color tint is? It was because I had my white balance set on Tungsten Light because we’d been baking Cake Pops the night before and I was using my camera indoors at night. I realized right after I took the […]
These looks great and love your photos!
Yum! I’ve always wanted to make those.
You should try it! they really weren’t as hard to make as I thought they would be. And little man loved them!
Yummy! I haven’t tried my hand with these. I think only because I know I’ll eat one about every 5 minutes. My jeans are a little too tight already. Great pics!
I understand that completely. I can’t keep cake mix in the house or I’ll find a reason to whip it up. And I too have the whole “jeans too tight” issue going on. LOL
YUMMM!! Thanks for sharing…and the photos are priceless. I have a major sweet tooth, too. 🙂
Also, I might be a tad jealous that you have a Kitchen Aid mixer!! 😉
Haha! That was my early Valentine’s Day present from the husband. I’ve had my eyes on one for a while. He finally caved and bought it for me. We love to cook and I’m a sweet fanatic so I’m always baking something. It’s definitely handy and worth every penny!
I’ve made them. They are a wicked PITA, but worth it for a party or some sort. If I just want to eat cake mashed with frosting, I make it up at home and spoon it out. So yummy. My favorite kind is red velvet with cream cheese. YUM.
I definitely enjoyed the cake mush and frosting. It was a little sweet for me to sit and eat a lot of, but delish nonetheless!